Stamp operation guide
Assembling Help
Step1:Remove all model parts
Carefully remove the body padding to avoid damaging the internal spring.
Step2:Insert the stampSecurely place the stamp into the body, ensuring it fits snugly into position.
Step3:Attach the handle
Insert the handle into the model, align the threads, and tighten it clockwise until firmly secured.
Usage Instructions
Step1:Press the handle.
Step2:Rotate it slightly clockwise to lock it in place.
Step3:Continue rotating clockwise to unlock the stamp, then close the lid to prevent the frame from being contaminated by the ink.
1. Photo Tool
Click the “Photo” tool, upload an image, and then click “Next” to automatically generate a corresponding stamp design.
✅ Recommended Photos:
We suggest using images with clear lines and defined outlines, as they produce better stamp models.
❌ Not Recommended:
• Images with large areas of solid color or complex photos may not produce clear model results.
• Even if the lines are clear, lines that are too thin might result in a stamp with poor printing quality.
2. Drawing Tool
Basic Drawing Tools:
• Brush, Line, Circle, Rectangle: Use these tools to freely draw custom shapes for your stamp design.
Editing Tools:
• Eraser, Delete, Undo, Redo: Easily make changes and corrections to your drawing.
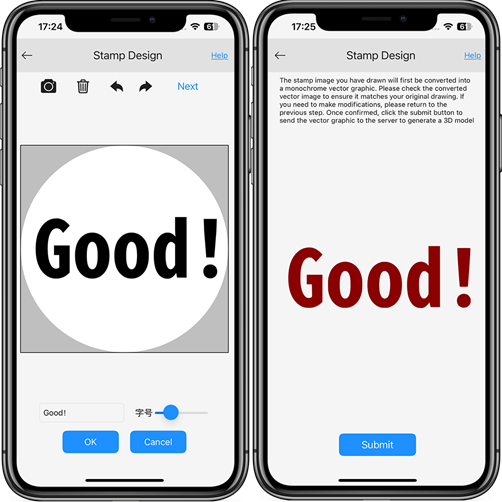
Text Tool:
Click the “Text” tool to add text to your design. After adjusting its position, the text will be included in your final stamp.